Julie Donec
A Contemporary Portrait and Figurative Canadian Artist
Goldfinch
Transferring the image
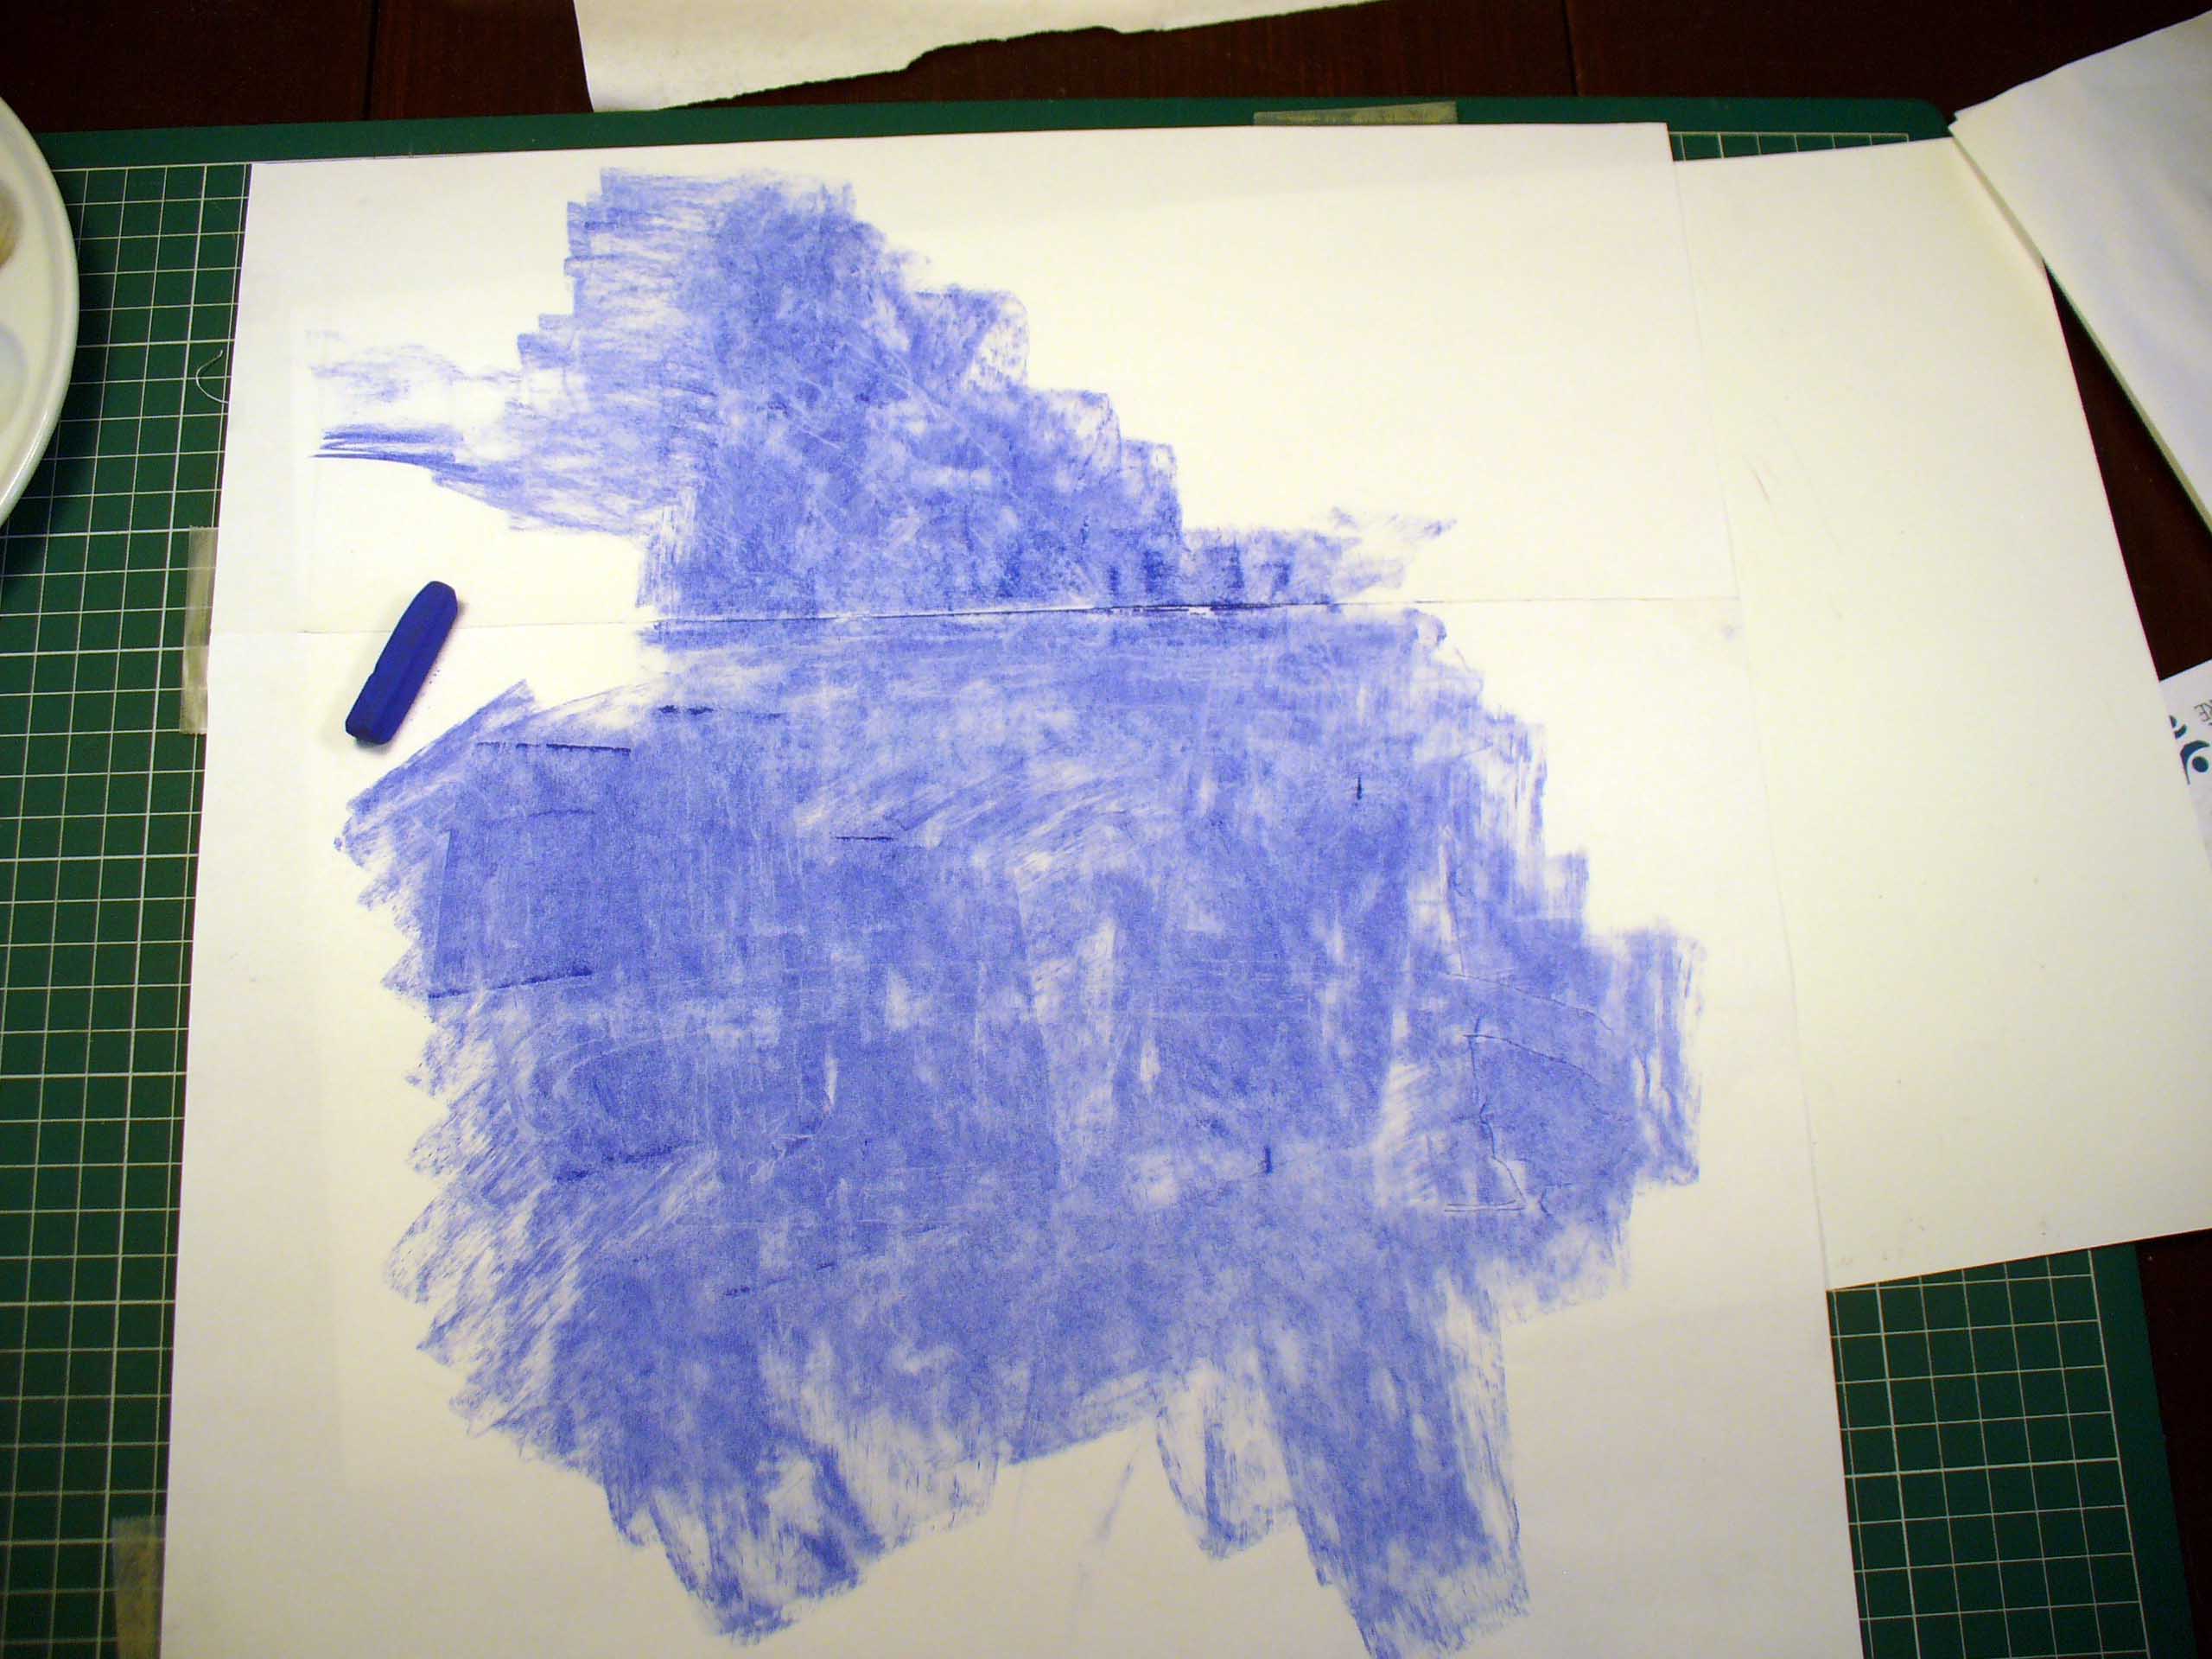
The prep work for doing “Goldfinch 1654” was straightforward and simple until I began the transfer process. Using a transfer paper that doesn’t bleed when solvents are applied, I tried tracing my photocopy on the board. Unfortunately the transfer line from the transfer paper wouldn’t take in some spots. Instead, I used a dry chalk type of pastel to chalk the backside of the photocopy, shook off the excess chalk, laid it in place on the board, registered it, and then taped it into place. The blue chalk worked better than I’d hoped, and the lightest touch transferred my lines to the board’s surface. I carefully traced out my image, and then removed the photocopy. The result is what you see above. The excess blue chalk was lifted off the board using a kneaded eraser. Please don’t try to brush/wipe it off – this will only create a blue smudge that won’t come off. The chalked-in lines were well marked, and to begin blocking in the forms, my usual method was to use a light umber hue mixed with solvent to start defining forms and laying in shadow areas. This time however, to begin blocking in the image I used waterproof India ink, thinned out to create a series of washes that defined the form. See the next image for the completed first step.
Picture 3 of 8