Julie Donec
A Contemporary Portrait and Figurative Canadian Artist
Goldfinch
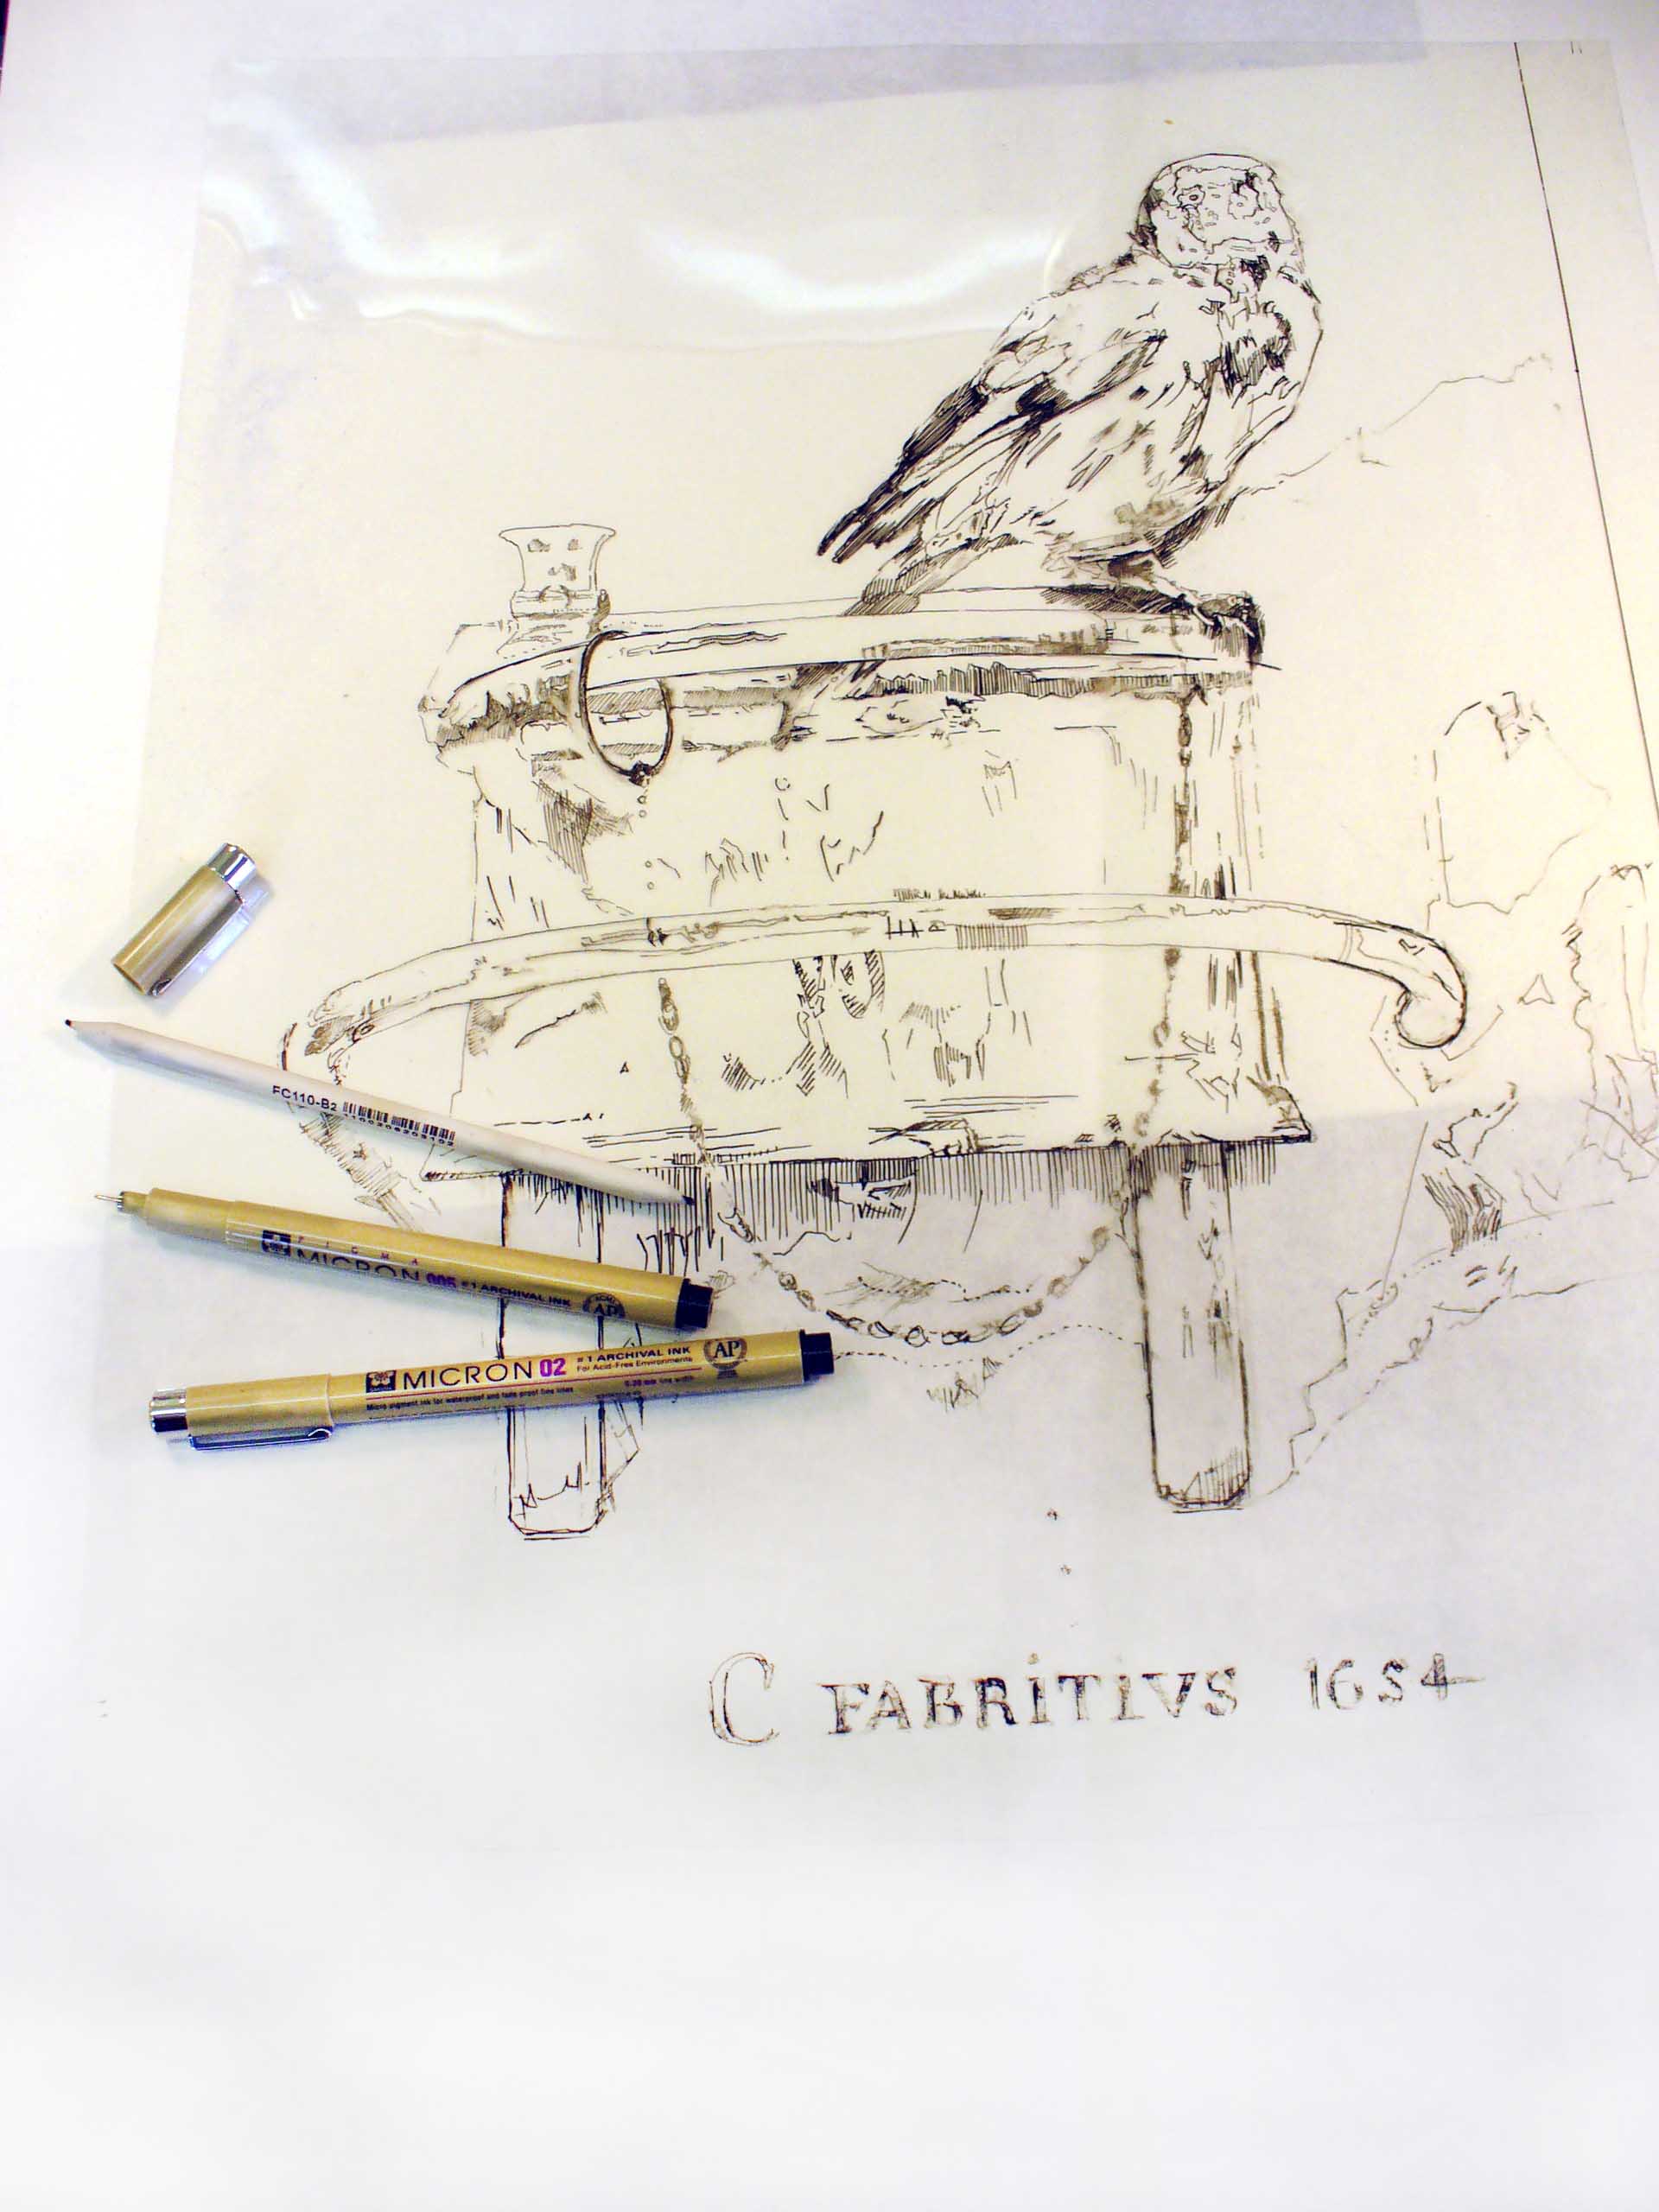
Drawing the image on acetate
Since I wanted to preserve the drawing, I taped a piece of clear acetate large enough to cover the entire image. In this stage I carefully refine any shapes that need reworking. Using a black Pigma Micron pen (size 005 and 02), I created a line drawing on the acetate. Be careful to keep your hand/arm off a freshly laid line, otherwise the ink will smudge. There is an upside to the ink staying somewhat flexible. If you’re careful, you’re able to ‘rub out’ sections you want to change. I discovered that using an ordinary paper stump, (the kind you’d use for blending pencil/charcoal), made for a very handy tool to remove any unwanted lines, allowing you to go back and tweak your forms. It is much better than using Qtips or moistened tissue. The stump I used had two fine points that were perfect to get into tight corners, and after the job was finished I might use it again for another similar task, or simply throw it away. Once you have completed drawing your image on the acetate, I’d suggest making crop marks to indicate the parameters/borders of the image.
Your next step is to make a paper copy of your acetate drawing. I use a shop that specializes in blue print reproduction to do this. A regular copy place will do if the image is small, but often my images are too large to fit on their scanner plates, or they have equipment that might damage a delicate acetate drawing. Decide upon the size you want, (you may either go larger/smaller, or even the same size as your original), give them the final measurements, and they’ll hand you back a paper copy that’s ready to be transferred. A couple of tips; this is an especially useful method if I’ve done a really good sketch and need to enlarge it to 10 times it’s original size. Beauty! I always put some type of writing on the acetate for the person doing the scanning to follow; this allows them to place the image correctly on the scanning plate. This may sound like a no-brainer, but…
For this class, I’ll provide a line drawing that I’ve traced off the original image. Since this is a painting and not a drawing class, I’d like the students to focus on the painting technique, and unless you have a strong drawing to work on, you’ll get lost in a mass of poorly placed lines, and incorrectly rendered mass forms. This makes painting ‘correct form’ a nightmare. Better to just have a decent drawing to work from.
Picture 2 of 8